
I want to share with you a great simple tutorial for making a nursing cover that can't be pulled off, and gives you a view of baby while nursing. This is a great beginners project because it is easy and . I made a few of these when I had my 2nd child (have 4 now :))and I don't know what I would have done with out them. I have since made them for most of my mom friends for shower presents. They are one of the MOST used gifts you could give. I LOVE mine and aside from using it to nurse have used it for a car seat cover, shade for my stroller and many other things in a pinch. I love that I can look in and see my sweet baby while nursing and still be discreet at the same time. Buying them from the name brand company costs about $35, but making them is as cheap as a little over a yard of fabric and a few supplies.

 First use your cutting tools to cut a 24" by 34" rectangle. Cut two straps for your cover 2 3/4" by 24 1/2" and one more 2 3/4" by 5 1/2". Now cut your boning to 14"'s. And cut your terry cloth, towel or flannel into an 8" square.


 The main piece of the cover should now be pinned and ready to hem on all 4 sides.
 In order to ensure that the boning stays in place stitch vertically along the sides of the boning to hold it in place in the center of the upper edge of the cover (not pictured). Now that the boning is secured, hem the entire rectangle taking special care around the boning in the upper edge and make sure to catch both sides of the terry cloth pocket.


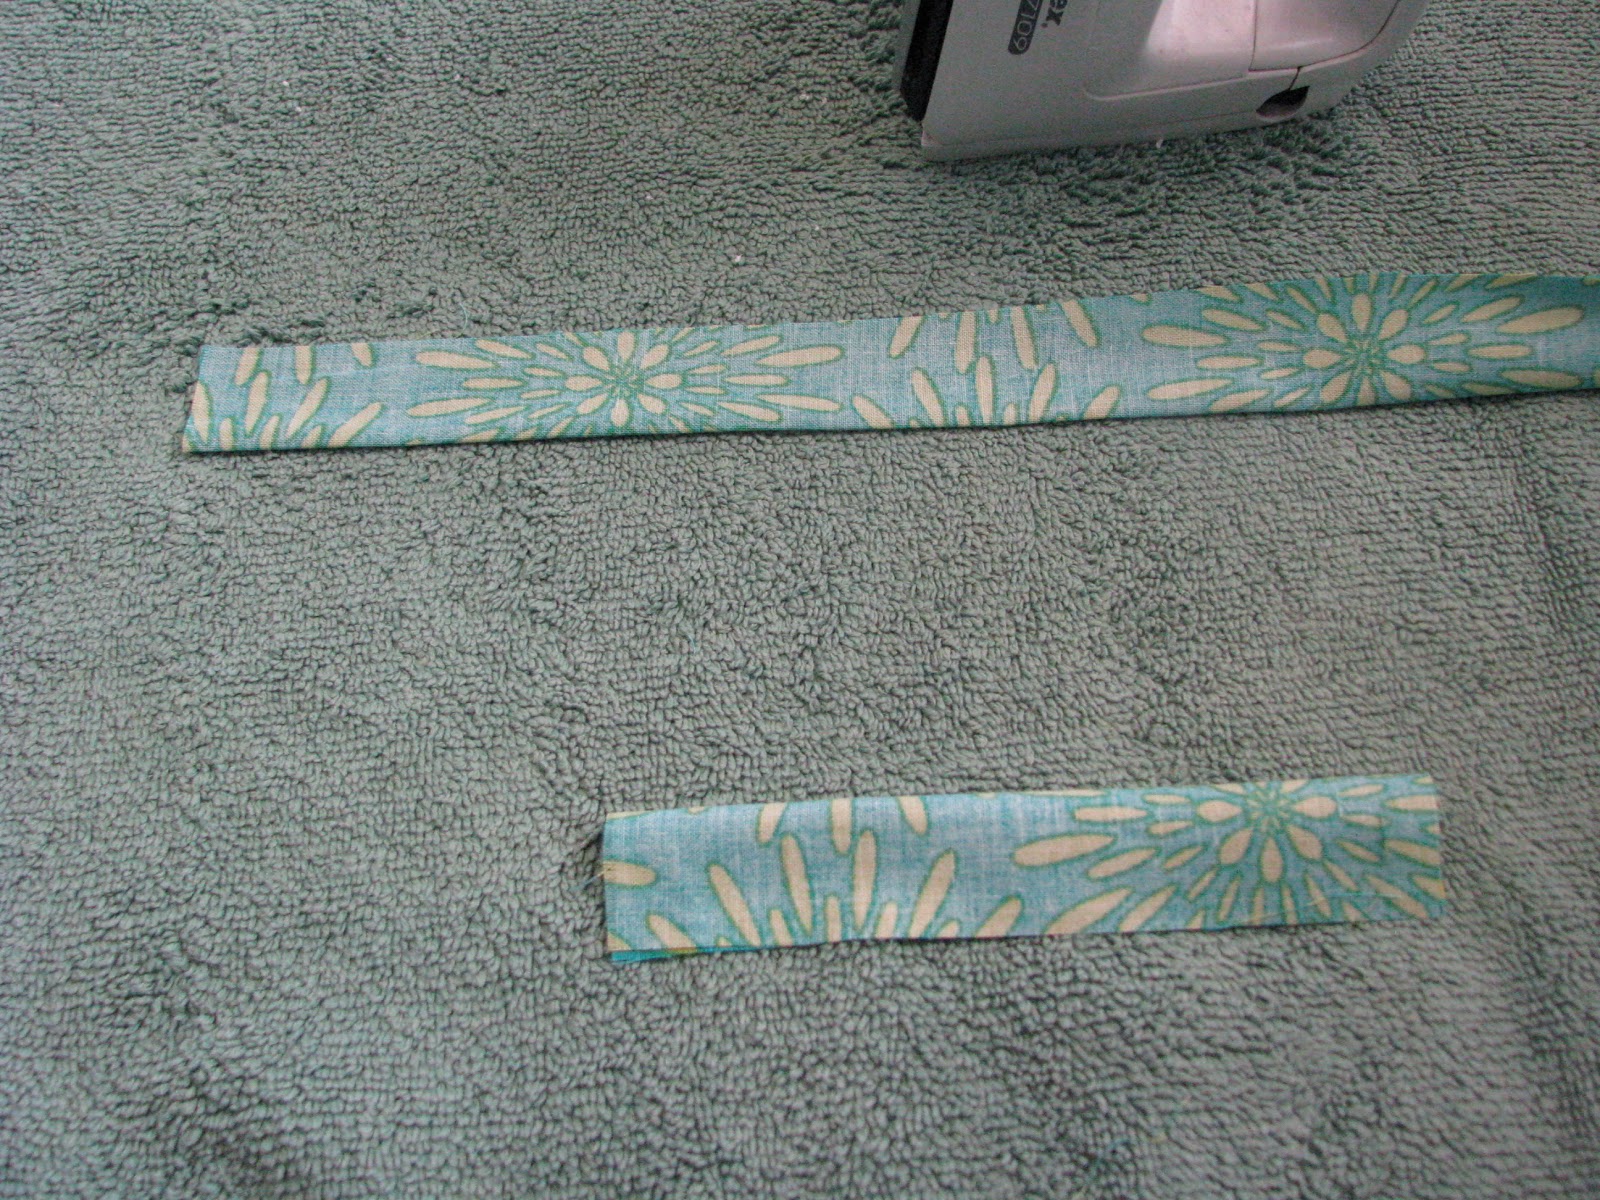
Now that the main body of the cover is done all we have left are the straps. So fold your straps in half wrong side out and press and pin.
On the longer strap sew all along the 3 open sides leaving a two inch opening in the middle of the upper edge of the tube.
Turn the tube right side out using a paint brush or chopstick (see photo below).
 Iron it right side out with the edges turned under where the gap was left. Top stitch around the entire strap being careful to catch the raw edges turned under. You should not even be able to see where the gap was.
To make the smaller strap, sew around the two open sides leaving the top open to turn it right side out. Now turn it right side out and fold in the top raw edges before pressing and top stitching all the way around.

 Now we are getting close! We attach the long strap first to the left hand side (if I were wearing it) from behind as pictured. I like to sew a box with an x in the center to give it extra strength.
For the other strap we slide the two D-rings on it, fold it in half and attach it from behind with the same stitching pattern used on the other strap (see photo above). Now we secure the D-rings by stitching a line as close as we can under the rings as shown below.
 YOU DID IT!! To use it you just thread the strap through the D-rings like you would a belt (the long strap goes through the front of the D-rings and back out again under the second one) and that is it! You are all done!


Linked up at

So lets get started! You will need about 1.25 yards of fabric, coordinating thread, a piece of 14" boning, 2
D-rings (for the adjustable neck strap), and a small 8" square of terry cloth fabric (or a piece cut from a towel, or flannel).

 |
| We will start with the main body of the cover. Fold and iron 5/8 " from the lower edge and the two sides of your rectangle. Be sure to note which end must be up if your fabrics pattern has a definite top. Fold and iron 5/8" again as pictured below. |

On the top side fold over 6/8" making it slightly larger than the bottom and 2 sides. This is created slightly larger to encompass the boning.

Now that you have created the casing for the boning place it in the direct center of the casing with it curved away from you (see photo below) and pin it in place.

Now we will create the little terry cloth pocket used for clean up or storage. You simply fold the square into a triangle and slip it into the area that will create the side and bottom hem on the right side as pictured below.


Now that the main body of the cover is done all we have left are the straps. So fold your straps in half wrong side out and press and pin.
 |
 |
| Notice the 2 inch gap in the middle is not sewn shut. |

To make the smaller strap, sew around the two open sides leaving the top open to turn it right side out. Now turn it right side out and fold in the top raw edges before pressing and top stitching all the way around.

 Now we are getting close! We attach the long strap first to the left hand side (if I were wearing it) from behind as pictured. I like to sew a box with an x in the center to give it extra strength.
For the other strap we slide the two D-rings on it, fold it in half and attach it from behind with the same stitching pattern used on the other strap (see photo above). Now we secure the D-rings by stitching a line as close as we can under the rings as shown below.

 |
Hope you enjoyed this project! Please link back if you make one and please do not copy the whole tutorial onto your blog. You may however feature this project by copying one of the photos and creating a link back to the whole tutorial here. Thanks! I would love to see your photos of the finished product! |


Linked up at
2 comments:
where do you place the straps on the top of the cover? What are the measurement from the edge?
Leslie, sorry to not have been clearer about that. You attach the straps directly to the left and right of the boning that is placed exactly in the center of the cover. This placement holds the boning in tight and helps create the peekaboo space. Is that clear? Hope that helps :-)
Post a Comment