Tuesday, May 22, 2012

Bring On Summer! Keep The Boredom at Bay and Get It All In!

Bring on summer!!  We just came back from my daughters kindergarten graduation and that means summer is officially here!!  Watching them sing and seeing them stand up there was the sweetest thing  If Bella wasn't going next year I would be crying at the loss of these amazing teachers.  We started off our summer with 90 degree weather, a clean full turtle pool, the girlies in bathing suites, homemade popsicles, and napping in the shade!
 Hoping for more of the same!  I have been giving our summer some thought.  With 4 kids and one more on the way we need some kind of a plan to accomplish what we want, keep the learning going in a fun way, skip the boredom and still get all our chores done while having a blast!  Tall order... so I have been reading different ideas on pinterest.  These are some of the things on our summer to do list!
 Ride horses with Grandpa up at his house
 (just a few miles away).
Hit the zoo again with the grandparents!
As far as new ideas for how to plan our summer..
First I wanted to start a new end of the school year tradition I read about in THRIVE magazine (by Focus on the Family).  The author picks her kids up on their last day of school and takes them all to a pancake house to celebrate a year well done, talk about highlights, and set up a fun summer fun bucket list off all the fun things they want to do by summers end.  That sounds awesome to me!  However we had just eaten at a kindergarten graduation and we have no pancake house.  I do want to go out thought to celebrate the official start of our summer break and make a bucket list with the kids of all the fun things we have to do this summer!

Some other ideas for giving summer a little structure include these...
A light schedule that designates each day of the week with a theme...
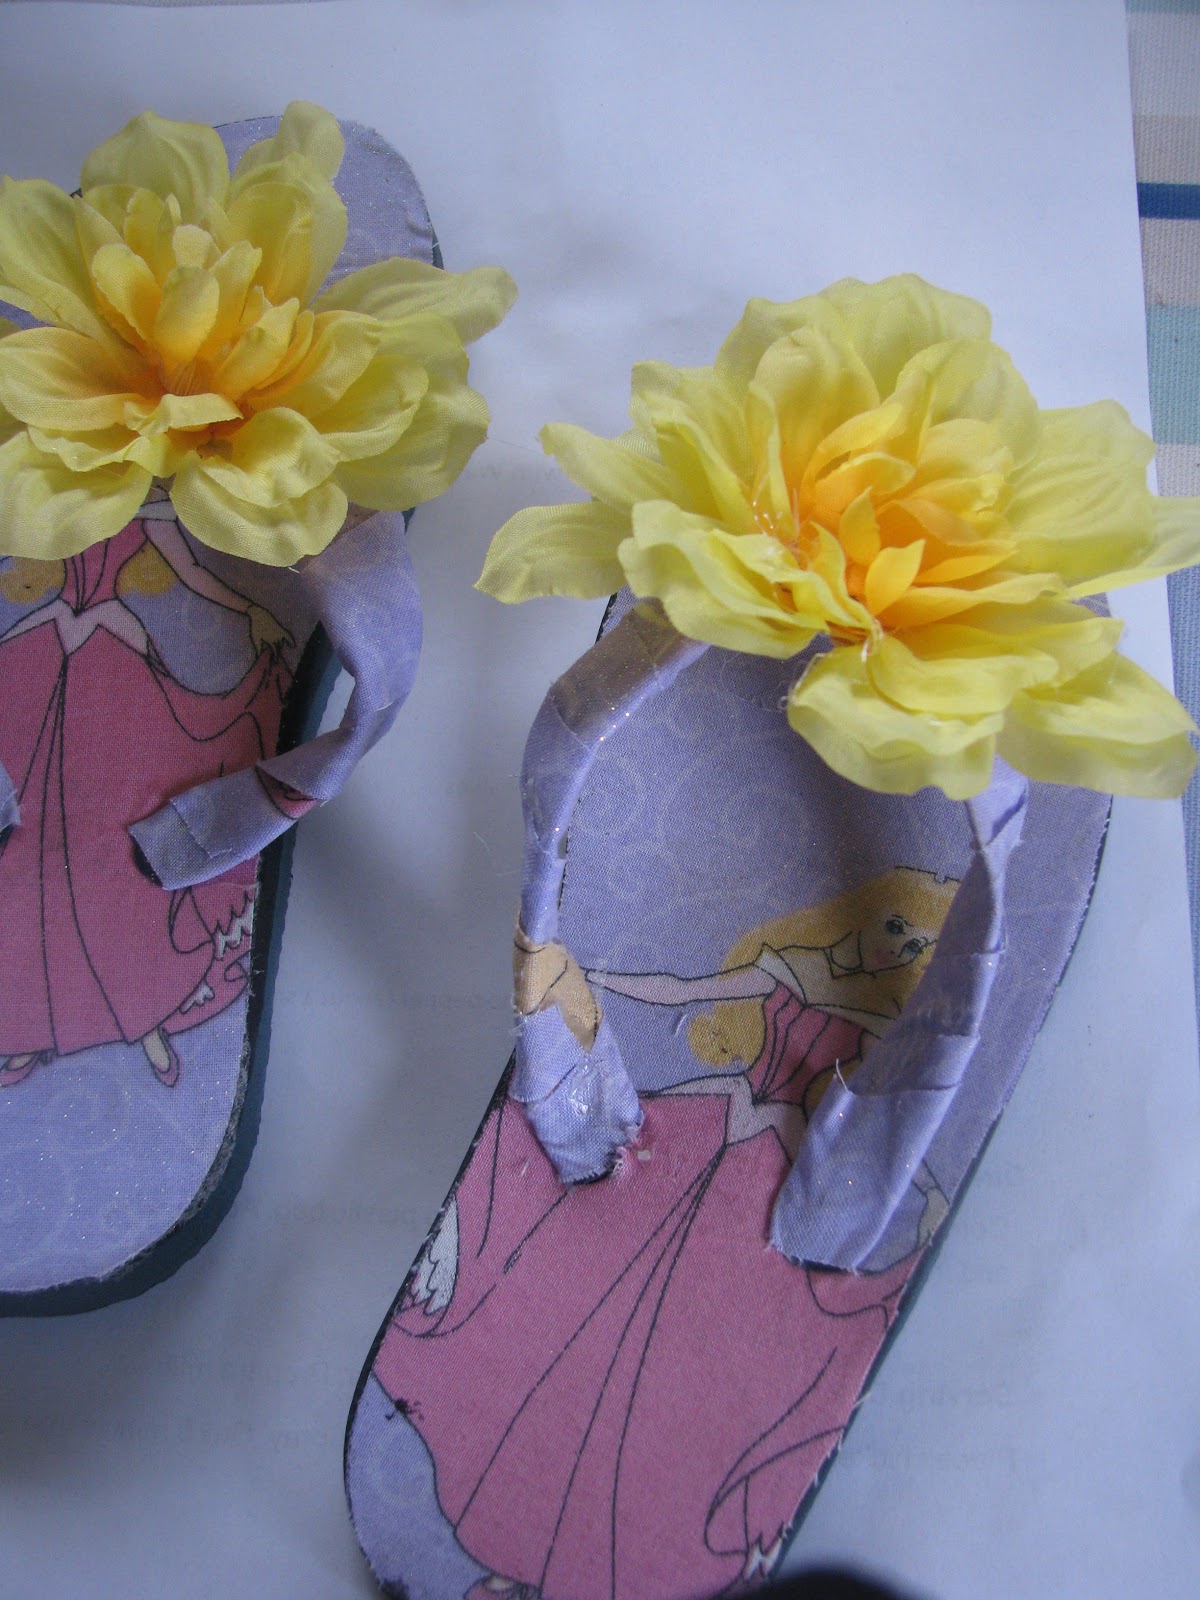
Masterpiece Monday- a day to work on art, go see art, or create!
Time to cook Tuesday- a day that you plan ahead for so you and your kids can cook up some fun!
Wet Wednesday- A day for the pool, splash park, or other water activity
Thinking Thursday- fun educational day, field trip, library discovery trip, research a fun child chosen theme like dinosaurs, etc..
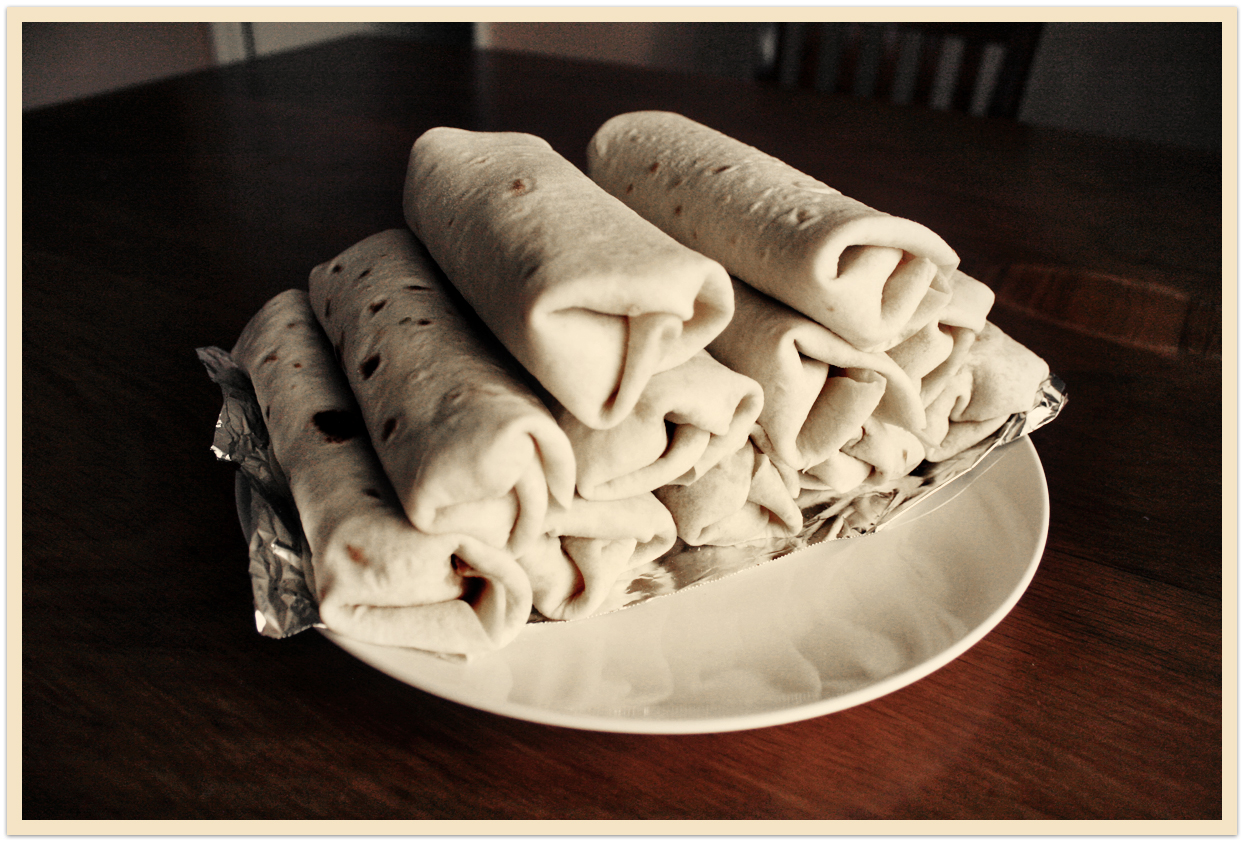
Family flick Friday- homemade pizza, and a good family flick for Friday night!

Other ideas  I read about include creating a daily list (with rewards) of what everyone must do 5 days a week like...
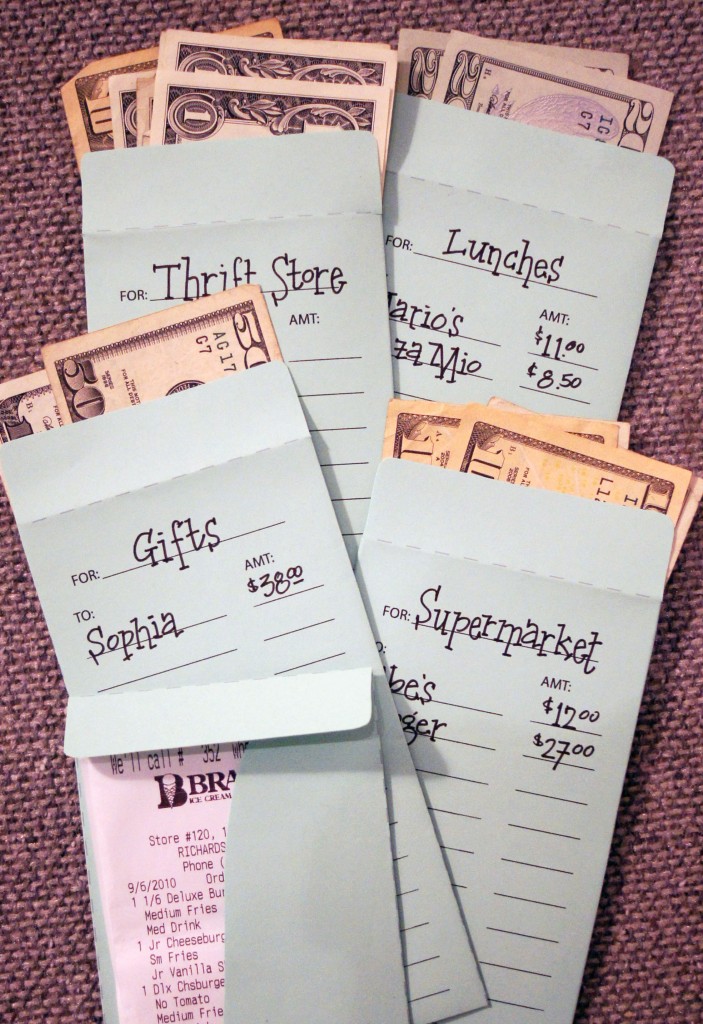
30 min reading, their chores, something physical (bike riding), practice a skill for 20 min (piano, typing, drawing, etc..).  Each to do item has a monetary value that when all completed every day (5 days a week) adds up to the amount needed for a family fun outing like the admission price to a theme park.  You can read more about that here at "Do it yourself summer camp".

How about a looser schedule like before breakfast we make beds, get dressed, pick up rooms.  By lunch we read 30 minutes, finish chores, and play with a sibling.  Afternoons can follow a theme like dinosaurs for a week.  So every afternoon we explore the topic with library trips, science experiments, field trips, and research and book reading.  The themes would all be kid picked and slotted in ahead of time.  Thinking art, the wild west, wild animals, science, and trains would all be fun themes.  The morning part of the routine would have a reward system as well meted out every weekend for a fully completed week.  For example a trip to the pool, a trip to dairy queen, etc..

 I do not plan on shuffling kids here there and everywhere to every learning opportunity as I do not have the energy or the desire to spend the summer just driving my kids around.  With that being said I am looking forward to the local VBS program, and the local "college for kids" program on Fridays for my oldest.  Even those will not be an every week evernt.  We will pick the ones he is excited about and take it easy on the others.

What are your ideas for keeping boredom at bay, continuing and fostering a love for learning, and getting all the fun in?  Love some new ideas!

Monday, May 21, 2012

Delicious Quick and Healthy Broccoli Salad

I love a good broccoli salad with crunchy nuts, crisp broccoli, and a hint of sweetness in the dressing.  Unfortunately most of them are doused in mayonnaise, sprinkled with bacon and coated in sugar.  Neither mayo, bacon, nor sugar are things I want to be eating much of so I created my own version after looking at a lot of different recipes..
photo courtesy of all recipes  
Broccoli Salad
1 head of fresh broccoli (1 1/2 lbs.)
1 small red onion thinly sliced
1/2  cup raisins (grapes would be a good substitute)
1/2 cup toasted walnuts, sunflower seeds or any other nut
1/2 cup plain yogurt
1 Tbs white whine vinegar
1 tsp sugar


Photobucket

Thursday, May 17, 2012

10 Healthy Make Ahead Snacks TO GO & the Snack Station!

This time of year there is so much going on that it is harder to make something healthy every time you or one of the kiddos is hungry.   I am finding we don't have much to eat on the go sometimes when we are busy because I won't buy processed crackers, cookies, granola bars etc... and I don't have time to make it right then.  It is also so much more economical to make snacks yourself as opposed to buying them, ans so much healthier as we all know.  I am trying to stock my fridge and pantry with healthy ready to go snack foods that we can grab before a trip to the park or the kids can grab for themselves while I am busy with one of the other 4 kiddos.  I like the idea of prepackaging my own healthy foods, because it is so helpful to have something to grab.  I I  have started trying to have one food chore day a week where I prep snacks, granola, dips etc so we are ready for the week. Here is what I have come up with for myself so we can eat well no matter how busy we are.
Hard boiled eggs 
Photo from fotostock
I know it is simple but farm fresh eggs are a great snack for the kids. It is easy to boil up a whole pot full at a time and store right back in their original egg carton marked "hard boiled eggs".  They are full of protein and taste great as well as being conveniently in their own packaging!  To make them put uncooked eggs in a pot of cold water.  Now add a tsp of baking powder and salt to make them easy to peel.  Bring the pot to a boil for about 1 minute, then take them off the heat and let them sit 10-12 minutes.

Celery filled with peanut butter
Photo from fotostock
Who doesn't like this classic snack.  I like that I can make a whole plateful to keep in the fridge and have them ready to go for hungry kiddos.  Do not plan on stacking them as that just gets too messy.  A single layer works best.  Some like the addition of raisins.  We get plenty of sugar elsewhere so we skip that part.

Fruit Skewers
Photo from fotostock
These are great fresh or frozen!  Just skewer grapes, strawberries, all kinds of melons, kiwi, mint leaves, bananas, apple and orange chunks or whatever you have on hand.  Then store in the fridge or freezer.  These are great with or without yogurt dip.  For the yogurt just sweeten plain yogurt with honey or stevia and dip.  They make a great Popsicle alternative with tons more fiber and all around nutrition!

Homemade yogurt
Photo from fotostock
I have a great recipe for homemade organic thick and creamy yogurt that you make in the crock pot.  I use my large crockpot and make a gallon at a time!  If you sweeten half of what you make with stevia or honey you can keep it in your fridge in ready to go jars.  Then when you need a quick snack it is already sweetened, served, and easy enough for kids to get for themselves.  I love a handful of homemade granola (recipe here) mixed into this.

Homemade granola bars
Photo from Whole Foods market
These are easy, yummy, healthy and great to throw in a bag and go.  Just wrap each one individually in cellophane and when you need it you are ready.  You can find several recipes HERE.

Ready to go veggie cups with homemade ranch or hummus
Photo from Pinterest no credit
I make my own ranch (recipe here) and humus (recipes here).  Just portion some out into small reusable plastic cups and add the long strips of cut up veggies.  Now just grab and go!  Make a weeks worth for your family and you will find it so much easier to be getting all your veggies in!

Frozen Homemade Burritos
(Bean or Breakfast)

DIY Frozen Burritos
Recipe and photo from Talia Christine's blog You can make these ahead of time with my homemade whole wheat tortilla recipe.  To store them wrap them in cellophane and store in an airtight container in the freezer. You can also change up the filling and use eggs, cheese and soy sausage for breakfast burritos too.   When you want one just reheat.

Homemade Snack Bags
Photo from Joy Bauer
We mix cheerios, or other whole grain cereal, almonds, sunflower seeds, chopped up apricots (less sugar than other dried fruit), whole grain crackers or pretzels, and mix it all up.  You can make these ahead of time and package in the snack size zip lock bags so you have a ready made snack. 

Yogurt pops
Clean Eating Blueberry Yogurt Pops
Find the recipe from these pops at the Gracious Pantry
Use your popsicle molds for yogurt pops.  Use plain unsweetened yogurt and add your own natural sweeteners like stevia or xyilitol etc (Still not sure what to use?  See my previous post on natural sweeteners here.)  then add frozen fruit chunks or puree it all in the blender.  For the blended option throw yogurt and fruit or fruits of choice in the blender with a small amount of juice.  Just enough juice to make the blending easier and then pour into molds. For more healthy "popsicle style" treat recipes look HERE.


Brewers Yeast Popcorn in snack bags 
Popcorn : popcorn isolated in white background Stock Photo
photo from 123rf stock photos
.Pop up some popcorn on your stove with a little olive oil, then thow on some brewers yeast ans sea salt before throwing into small zipper seal snack bags ready to grab for the week.  The brewers yeast adds a parmesiany flavor and a ton of B vitamins.  The popcorn stays nice and crisp for days.

The Snack Station
For me the whole point of this was to find snacks that my kids could help themselves to (besides fruit), and snacks that I could grab and head to the park with.  Enter the "snack station".  I will be making one for the fridge and one for pantry items that do not need refrigeration.  That way if I am busy with homeschool, or something else they can help themselves to mommy approved choices.  
Photo from Stuff I like
What are your healthy ideas for homemade snacks to go?
Photobucket

Wednesday, May 16, 2012

Here is what is coming up soon!

Working on a great post with some make ahead TO GO snacks!  I have been really sick so I am sorry it has been a little while since my last post.  Just wanted to let you know to check back soon as I will try to get this done tonight.  Thanks for your patience.

Photobucket

Friday, May 11, 2012

DIY flip flop makeover just in time for Mother's day!

With mother's day coming up I thought this would make a great quick mother's day present that your mom would love and use all summer long!  Obviously your mom would probably not love the princess motif shown below as much as the little girls I made them for did so you will have to pick out something a little more appropriate.

I first came up with these when I needed a quick, original birthday present for a friend's daughter.  She loved them!  Cute, customized flip flops.  My little girls LOVED them so of course I had to make them each a few pairs.
Let's get started.  You need just a few basic crafting supplies plus the correct sized flip flops.
Gather your supplies:

 Flip flops in the right size. I got mine from the dollar store.
Ribbon, fabric, trim, buttons and any other accessories you might want to add to the front.
Fusible interfacing that is large enough to cover the sole of the flip flops.
Glue.  You can use e-6000 craft glue or other strong adhesive.  Glue gun will eventually come off the straps if you are gluing directly to the plastic straps.

The first step is to remove the straps by using small needle nose pliers as shown below.
 Next you will need to trace the shape of the flip flop onto the fusible interfacing and onto the fabric so that you can cut out the exact size needed. Please note that theblack marker was a bad idea.  Use a pencil or something lighter!

 Take your fusible interfacing and your fabric and lay them on your flip flop so that you can iron them to your flip flop sole.  Make sure to not miss any spots and be extra careful to get all the edges really well.  This is important to make sure that the fabric sole lasts as long as the shoes do.
Pierce the fabric where the flip flop strap originally went through.  Do this from top to bottom so that the fabric pokes down into the hole.
 Now before we attach the straps you need to wrap the straps in fabric.  Use your glue as you go around the strap to secure the fabric as you wrap.
 To add the flower in front you need to cut the stem off the flower.
 Adhere it with your craft glue to the fabric covered strap.
Now reattach the strap to the flip flop paying close attention to make sure that bottom of the straps wrap in like normal.
That is it! You are done!  Well unless you are like me and have multiples left to make for the little girlies in your house.  Below is a simple ribbon version.


Start by attaching ribbon to the flip flop straps with your craft glue.

 Now make a figure 8 bow and then glue each side in like the photos above and below.
Now create a center piece for your flip flop with a button and ribbon by weaving the ribbon through the button and gluing the ribbon to the button so that it creates a bow shape.
 That's it!  Enjoy!  The possibilities are endless, and inexpensive too!
Photobucket

Monday, May 7, 2012

Homemade thick and creamy crockpot yogurt!

With 4 kids, a desire to eat truly healthy and a small budget we try hard to make as much of our food as possible. Mind you, we homeschool and with a 2,3,5, and 7 year old it is pretty tough to find time to make all the things I want to, but we are working on it.  I have recently quit buying store bought bread, and we just make our own whole grain bread instead.  If we run out of bread and I don't have time to make it we make some quick biscuits or handmade whole wheat tortillas.  It saves us a  ton of dough (pun intended :) ), and we get to skip all those unpronounceable ingredients that are even in the healthy breads!

So now that we have made that change we are trying to add homemade yogurt to our list.  I have made it before but usually it was too runny, and the thermos style yogurt maker we have made too little for our big family.  I checked into some strains of starter you could buy that cultured right on your counter without the addition of heat, but it turned out that it produces a more stringy gluey style yogurt.  That was NOT what I wanted.  So I started researching what made a rich, creamy, thick yogurt without adding anything additional to the yogurt like gelatin.  After reading countless blog posts, blogger comments, and more this is what I came up with...
A thicker rich and tangy, yogurt with a nice creamy consistency.  Much to my delight my son said and I quote "Wow!  This tastes just as good as the store kind!"  Just what I was going for!

Without further ado.. Here is the recipe with all the tips, tricks and "need to know's" mixed in.

1.Bring one 1/2 gallon organic WHOLE pasteurized milk up to 180 degrees in a pot on the stove.  DO NOT SKIP this step.  


If you want to use the crock pot exclusively and skip the stove top method you can add the cold milk to the crock pot and cook on low for 2 1/2 hours, then unplug the crock pot and let it sit with the cover on for 3 hours before continuing on from step 4.
I use a candy thermometer to monitor the temperature.  Keep an eye on the milk as you are heating it to make sure not to burn the  milk.  This breaks up the proteins in the milk to smooth thick yogurt, kill competing bacteria that will give the yogurt an off taste, and stops the whey from separating out as much.  Do not use ultra pasteurized milk as it doesn't have enough healthy bacteria to culture properly.  For a thick yogurt you really need whole milk.  You can make it with reduced fat milk, but it will be runnier.  The addition of powdered milk (about 1/2 Cup) can help to offset this if you are set on using reduced fat milk.  Many bloggers suggested that the quality of your milk really effects the overall end product so I used Horizons Organic whole milk.

2. Place the pot in a sink full of cold water to bring the temperature down to 105-115 degrees. 
Don't mind that fact that my thermometer has been completely disfigured by a run through the dishwasher.
3. While this is happening turn on your crock pot to low for 15 minutes before adding your milk.  Now turn off your crock pot.
Do not forget to turn it OFF!!
I did forget once and had a boiling thick cottage cheese like mess hours later.

4. Now that your milk is down to 105 degrees and will not kill your starter, take out about a cup of the warm milk and thoroughly whisk in your 1/2 cup of starter yogurt.  Add this back into your milk and thoroughly incorporate.  
How thoroughly you mix this in will determine how incorporated your starter will be through out all the milk mixture and therefore how smooth and creamy (think lump less if that is a word) your yogurt will turn out.  I used open nature brand from Safeway.  It is very important that the starter be FRESH. Do not open it until you are using it and then freeze the rest in 1/2 cup portions for the next time you need starter or just save out 1/2 cup of the resulting yogurt.

5.  So your milk and starter should now be fully incorporated in a crock pot that is turned OFF.  

6.  Wrap the crockpot tightly in a thick towel, and DO NOT MOVE IT! Wait 7-15 hours for a full, rich, creamy yogurt.
It is very important that the yogurt not be disturbed by curious little hands or moving around, so find a spot it will be safe in.  Now comes the part where you have to restrain yourself and be patient!  The longer it sits the thicker and tangier it will become.  Because everyone's home's temperature will vary you will just have to see what works for you.  I got mine out at 7 hours but will try waiting longer next time to see how I prefer it.
And that is it!   I like to use mine to replace sour cream and mayo in recipes, or add stevia and frozen berries to eat it for breakfast, bake with it in place of cream,  as a base for a delicious fruit dip, add it to smoothies, flavor and make popsicle or frozen yogurt.  The list is endless.


To make greek yogurt just strain it in cheese cloth for a day or so to remove some of the liquid.  

So the process itself is simple, yet it seems that the little tips and tricks can make the difference between grainy, thin, stretchy yogurt and thick, smooth, creamy and tangy yogurt.  I vote for the latter!  Ever made yogurt?  Share your tips and tricks with us!
Photobucket

Friday, May 4, 2012

Freebie Friday! - printable budgeting cash envelopes

I love freebies!  I found this great printable to make your own cash envelopes and I LOVE IT!  I am a budget kind of girl.  With 4 kids and a small income we really have to stay on top of our money to make it stretch as far as possible.  The best part is you can make two sets so that you put only 2 weeks worth of your months budgeted amount in each set.  Then you can get a months worth ready at one time without worrying about carrying so much cash.  You can also be ready immediately when you have used up current two weeks worth.


For a really great introduction on how to get started on an envelope cash budgeting system go check out Dave Ramsey's info here.


Happy Budgeting!  
Photobucket

Tuesday, May 1, 2012

A Heart at Peace....

So lately I find myself wondering how can I do all the things we moms need to do and keep a light hearted, cheerful disposition with my children. I find myself needlessly irritated, grouchy, and impatient WAY too often with my beautiful kiddos. I can tell that under stress I have WAY less patience.  Unfortunately with 4 kids aged 2,3,5, & 7, homeschoooing, and life on a tight budget....it can feel like stress is a way of life instead of a passing feeling.
So I have really been praying "Lord, help me be the mom you made me to be!  The mom I want to be!"  In response, I feel like the Lord has been pointing out that joy comes from a heart at peace.  Peace comes from trusting Jesus in the details.  Taking a moment to ask myself "what does my behavior say about what I believe."  Am I acting like I truly believe Jesus is with me and "is my ever present help in time of trouble" and that He will always take care of me, or am I acting like I need to protect myself or assert my rights.  Jesus is all about a servant heart, and loves to be our help when we let Him.

For example..at 8:30 this morning I am trying to cornrow my 3 yr old daughter Bella's hair while she protests with all her might (it is starting to feel like a full scale battle!), my 2 year old Cruz who is potty training with the bare bum method poops on the floor just as a friend stops over with her year old niece for a quick hello (LOVE that she takes the time to stop by!), and my son will NOT start his homeschool!  I start to feel overwhelmed, irritated, snappy and unkind.  In this situation there are two ways to look at this.."AH!! Of course I am stressed and if I start to vent my frustration it is only reasonable!"  or I can stop when I notice my mood changing, my stress levels rising and take a breath.  I can ask myself "so what? What if there is poop on the floor, can it be cleaned? Yes.  So what if things aren't going as smooth as I would like them?  Will things be ok?  Are there huge life altering things at stake? No.  Can I trust Jesus for this moment?  YES!!"  I would love to say that I stopped and calmed myself , and shot a quick prayer up, but I didn't.  I let me frustration get the better of me and was just plain old grouchy!

But times like this morning are learning experiences if we let them be.  By taking the time to examine what we didn't like about our behavior in the day and asking God for clarity on how we can handle the situation better the next time we can at least find a better solution and prep ourselves.  God is a gentle guide when we open ourselves up to His leading.  He won't dump all our failures on us, or overwhelm us with our faults.  He will gently, lovingly  reveal to us areas that He is at work in us. And that is the key.. He is at work in us when we call on Him and let Him be.  We participate but we also trust His process, and timing.  I want that heart at peace.  I want that JOY that expresses itself in GRACE toward my family.  So Lord I pray  help us moms in the thick of it to trust you in the details and let you be our peace.  Peace that leads to patience, joy and kindness.  The things we need to be the moms you made us to be!

What do you do to reign in the grouch inside and give out patience when it seems impossible?
Photobucket